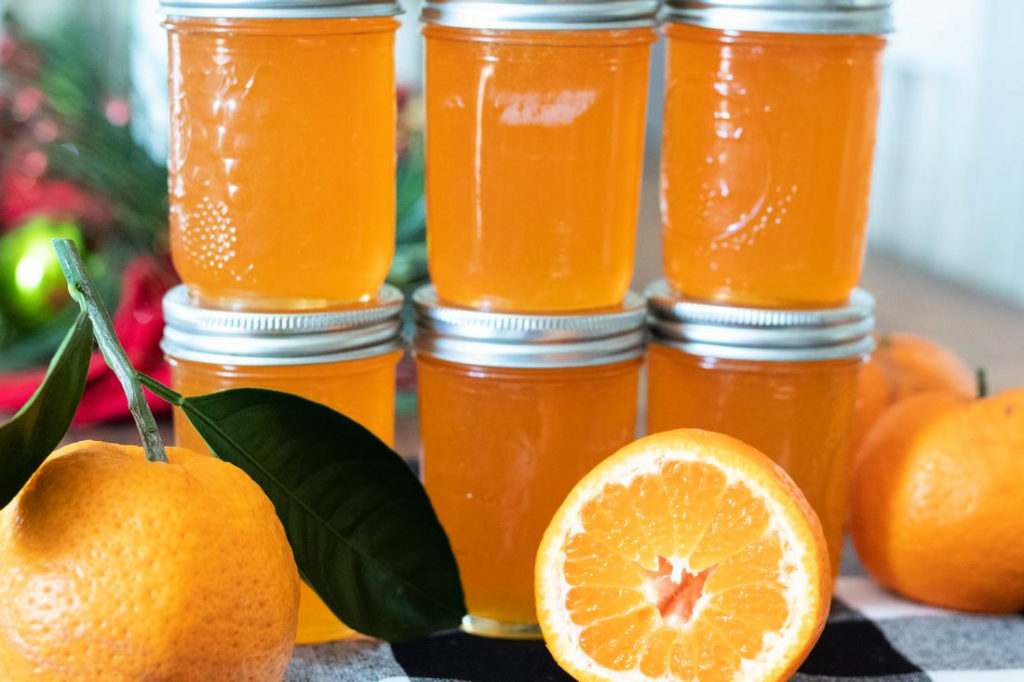
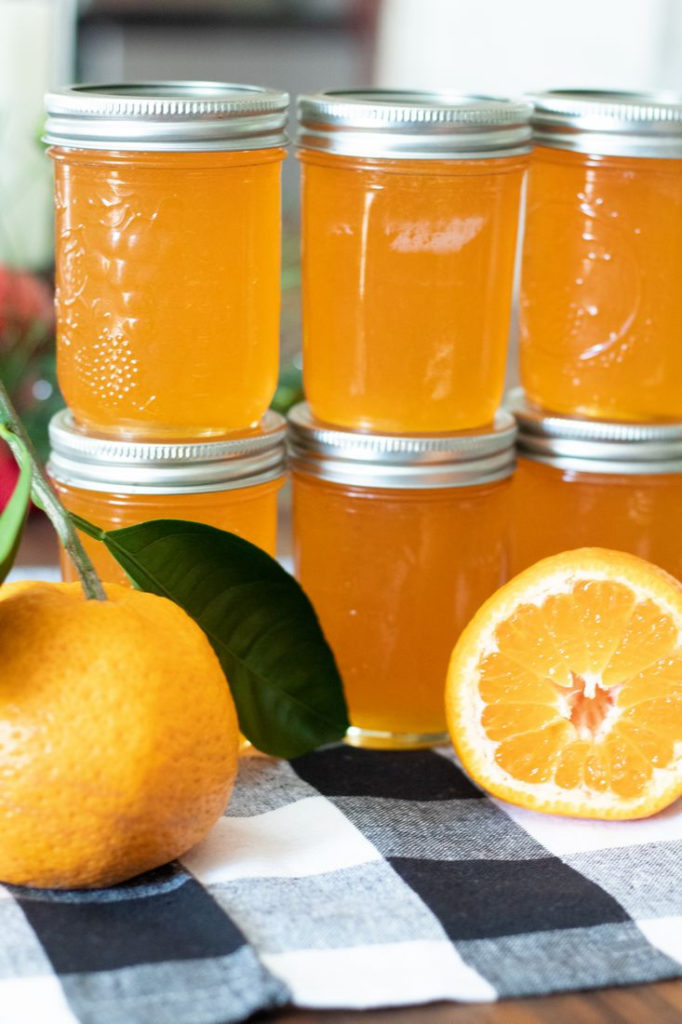
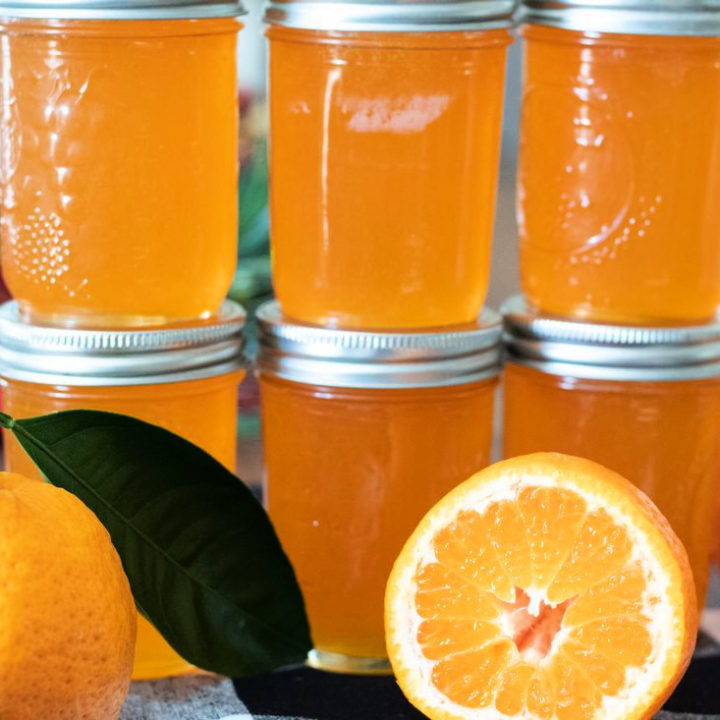
This homemade Satsuma Jelly recipe is one of my favorite jellies of all time! It’s sweet and tangy flavor makes it the perfect condiment to eat on hot buttermilk biscuits or toast.
Everyone that has tried this tasty bright-orange sweetness has asked me for the recipe. And, it’s easy to see why with juiced satsumas and a few simple ingredients, this jelly is simply remarkable!
Unfortunately, the fruit on our Satsuma tree only ripens from mid-October to early December.
Therefore, if we don’t have Satsuma Jelly stored in our pantry, I have to wait until the sweet citrus fruit is in season here in Louisiana to make more jelly.
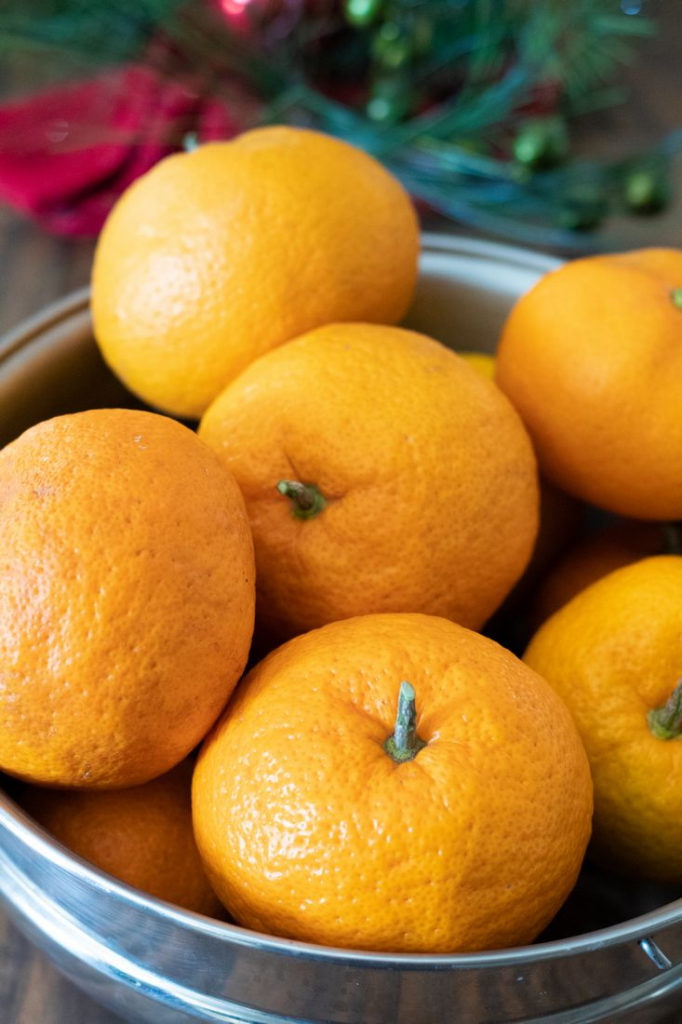
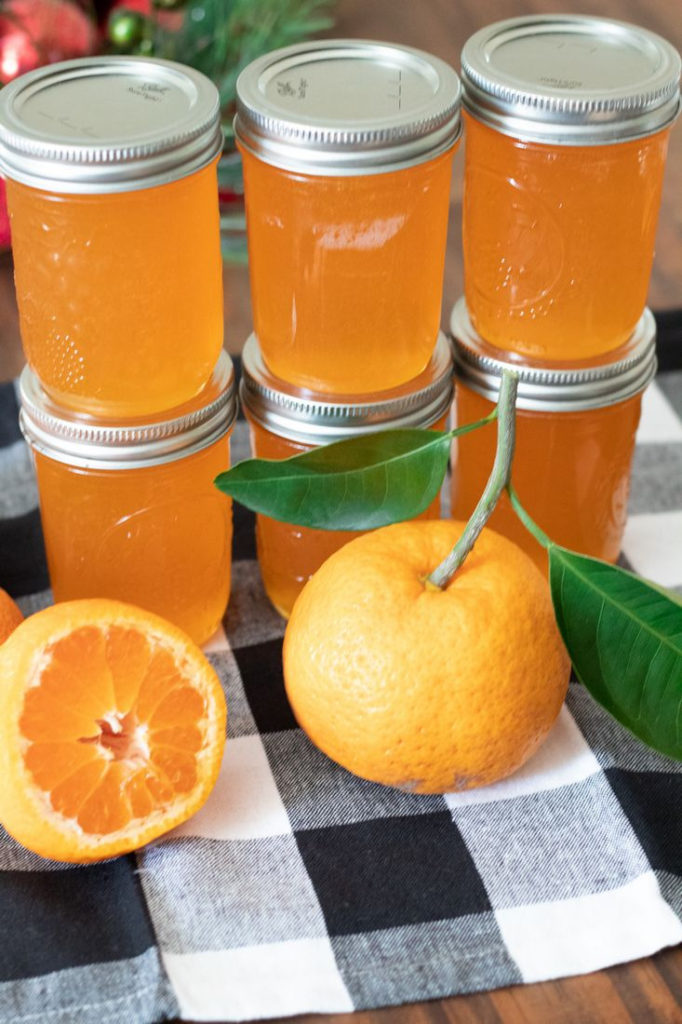
Of course, when the fruit is in season my family looks forward to our Satsuma tree producing an abundance of the Satsuma Mandarin Oranges.
However, the fruit the tree does grow is the size of tangerines and is juicy and very sweet.
Also, the Louisiana Satsuma Orange is seedless and easy to peel, making it excellent to use for canning recipes.
Plus, the orange makes a great snack and fantastic to use with various types of smoothies, desserts, salads, meats, and other foods.
what’s in the Satsuma Jelly
- Satsuma Juice
- Lemon Juice
- Sugar
- Sure-Jell
Furthermore, you’ll need canning jars, lids, rings, and a metal strainer.
How to make Louisiana Satsuma Jelly
Learn how to make satsuma jelly below with step by step directions.
Step 1
You’ll need to juice 12 or more fully-ripe Satsumas by hand using a juicer. We juiced about 12 Satsumas to make six half-pint jars of jelly. After that, use a strainer to separate the juice from the pulp.

Step 2
In a large saucepan, add satsuma juice, lemon juice, and Sure-Jell. Stir to mix-in the Sure-Jell. Bring the mixture to a boil over medium-high heat.
Step 3
Add the sugar to the saucepan. Stir until the sugar dissolves. Bring the mixture to a boil that you cannot stir down. Next, boil hard for one-two minutes, stirring continuously, then remove the pot from the heat and skim off any foam.
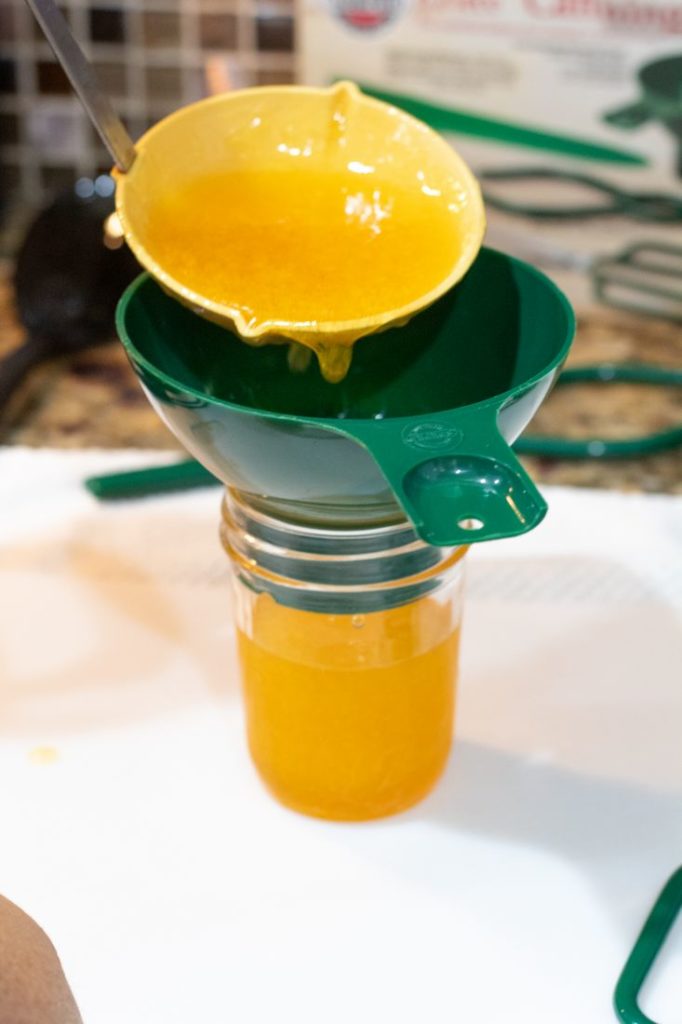
Step 4
Using a ladle, fill hot sterile jars leaving 1/4 headspace. The mixture will be thin; it will thicken as it cools. Remove air bubbles and clean the sides of the jars. Next, place sanitized lids and sanitized rings on the jelly jars. Screw down the lids tightly by hand.
Step 5
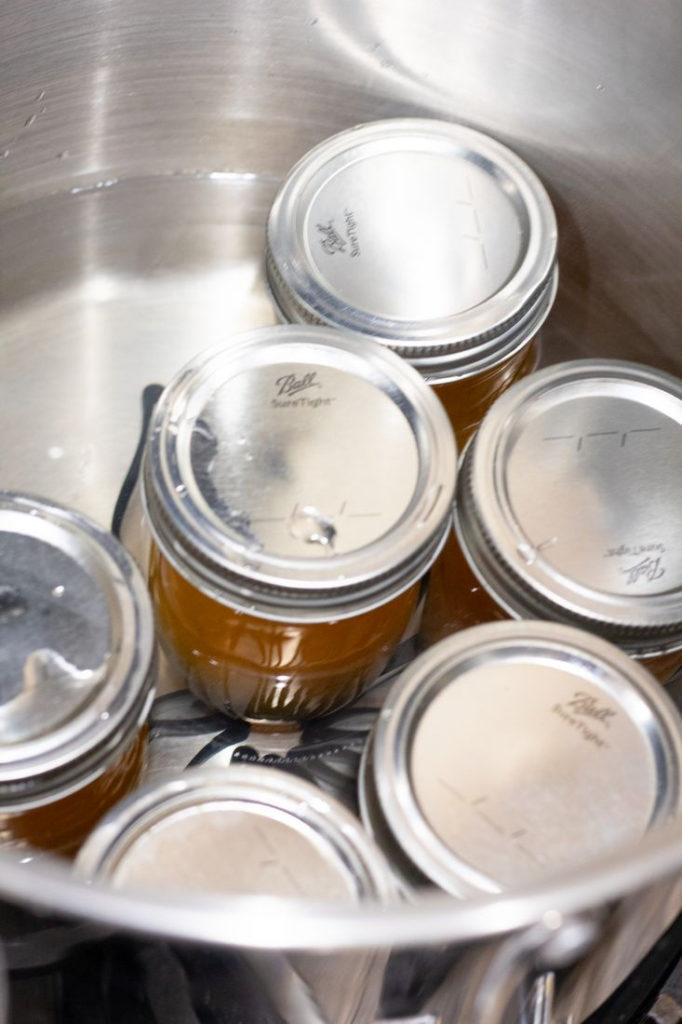
To process the half-pint jars, place a canning rack in a large deep aluminum stockpot or a canner with simmering water.
Using tongs, place the jars of jelly on the canning rack. Water must cover the jars by 1 inch. Adjust the heat to medium-high heat, cover the pot or canner, and bring the water to a rolling boil for 10 minutes.
Step 6
Turn off the heat and remove the jars using tongs. Place the jars on the counter lined with a towel. Let the jars cool for 24 hours. Once the jars are cooled, check the lids for a proper seal by depressing the tops.
Most importantly, do not tighten the tops if any of them are loose. If the tops pop, refrigerate those jars and use them soon.
However, if the tops don’t move up and down, it’s sealed properly. Make sure to label and write the date on each jar.
Now you know the recipe for satsuma jelly and about canning the satsuma jelly. Let’s learn about storing it.
Storing the Satsuma Jelly Jars
- Store the jars of Satsuma Jelly in a cool dark place in the pantry.
- Unopened jars can be stored for up to one year.
- Open jars must be stored in the fridge.
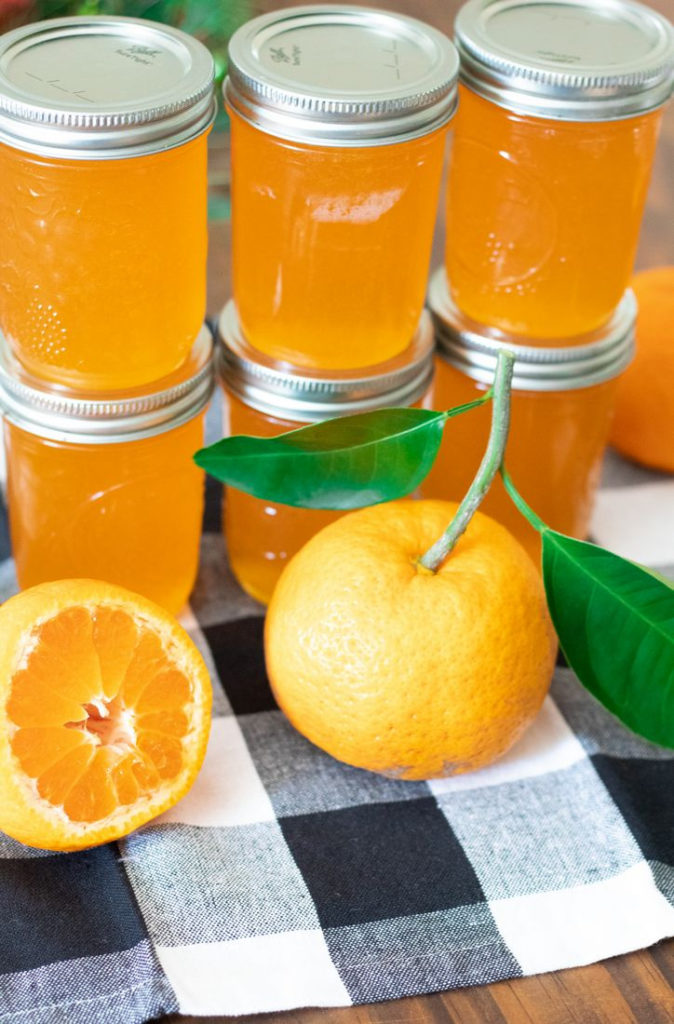
Doesn’t this recipe for Satsuma Jam look delicious? My husband wanted me to make Satsuma marmalade but I find it a little bitter for my taste.
However, I do think this sweet jelly would make an excellent holiday gift paired with crackers.
I think you’ll love this easy Satsuma Jelly recipe. I had a lady tell me she sold over 200 jars of Satsuma Jelly at a market using this Satsuma recipe!
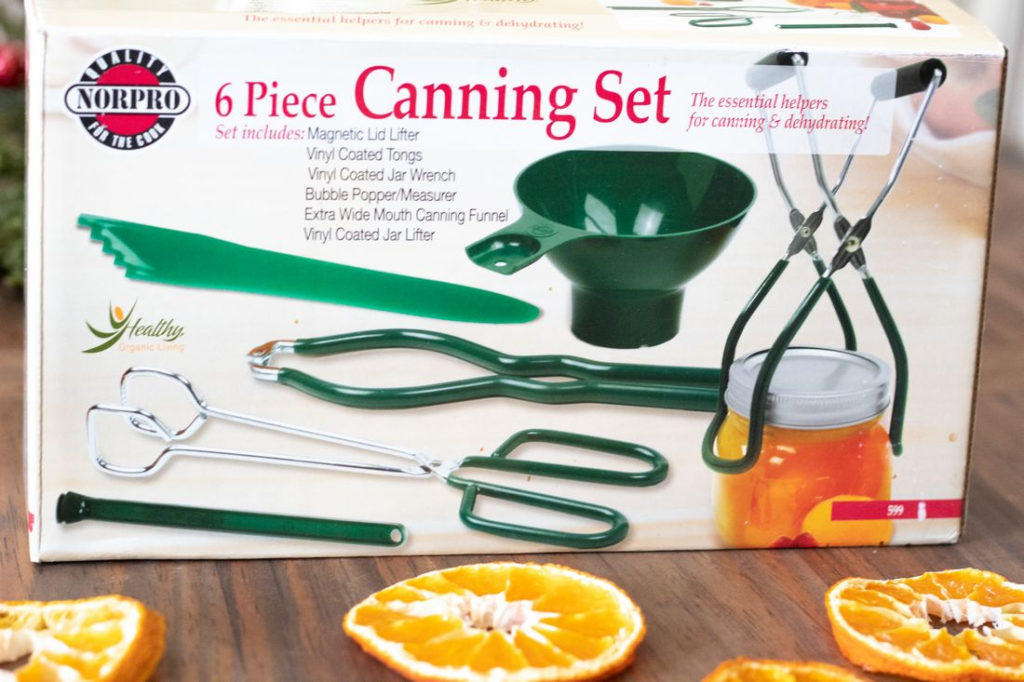
Oh! I almost forgot to save you some time and sanity. I recommend buying a canning set like the one I used below and maybe a good pair of heat-resistant gloves if you plan on canning!
Also, if you wanted to make satsuma pepper jelly, you could add some jalapenos to this recipe.
More Recipes For you to try
Satsuma Jelly
This flavorful homemade Satsuma Jelly recipe makes the perfect sweet and tangy citrus condiment.
Ingredients
- 4 cups Satsuma Juice, freshly squeezed
- 1/4 cup lemon juice, fresh or bottle
- 5 cups granulated sugar
- 1 box Sure-Jell (1.75 oz.)
- half pint glass jars
Instructions
- Juice 12 fully-ripe Satsumas by hand using a juicer. Over a bowl use a strainer to separate the juice from the pulp.
- In a large saucepan, add satsuma juice, lemon juice, and Sure-Jell. Stir to mix-in the Sure-Jell. Bring the mixture to a boil over medium-high heat. Add the sugar to the saucepan. Stir until the sugar dissolves. Bring the mixture to a boil that you cannot stir down. Next, boil hard for one-two minutes, stirring continuously, then remove the pot from the heat and skim off any foam.
- Use a ladle, fill hot sterile jars leaving 1/4 headspace. The mixture will be thin; it will thicken as it cools. Remove air bubbles and clean the sides of the jars. Next, place sanitized lids and sanitized rings on the jelly jars. Screw down the lids tightly by hand.
- To process the half-pint jars, place a canning rack in a large deep aluminum stockpot or a canner with simmering water. Use tongs, place the jars of jelly on the canning rack. Water must cover the jars by 1 inch. Adjust the heat to medium-high heat, cover the pot or canner, and bring the water to a rolling boil for 10 minutes.
- Turn off the heat and remove the jars using tongs. Place the jars on the counter lined with a towel. Let the jars cool for 24 hours. Once the jars are cooled, check the lids for a proper seal by depressing the tops. If the tops don't move up and down, it's sealed properly. Make sure to label and write the date on each jar.
- Store jars in a cool dark place. Unopened jars can be stored up to one year. Open jars must be placed in the fridge.
Notes
Use sterile jars, lids, and rings.
Oranges could be substituted for the Satsumas.
Nutrition Information:
Yield: 6 Serving Size: pintsAmount Per Serving: Calories: 739Total Fat: 0gSaturated Fat: 0gTrans Fat: 0gUnsaturated Fat: 0gCholesterol: 0mgSodium: 30mgCarbohydrates: 191gFiber: 3gSugar: 185gProtein: 1g
For more about our Nutritional Disclaimer: https://www.thisolemom.com/nutritional-disclaimer/
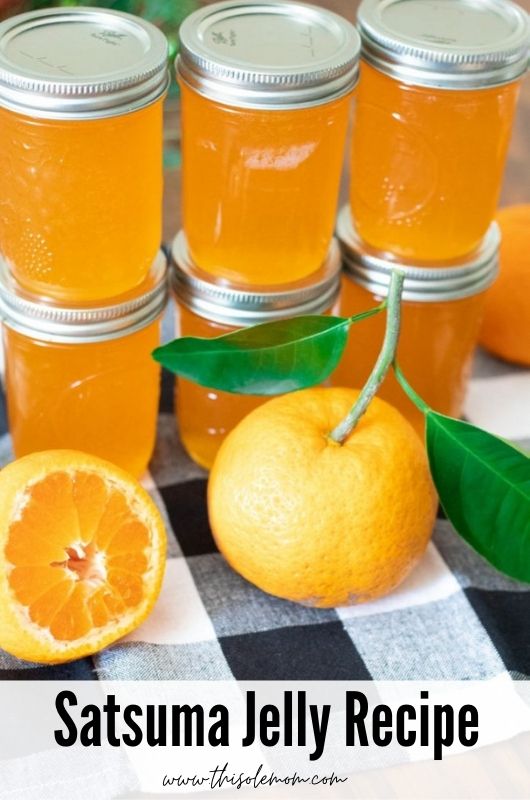
Pin Satsuma Jelly Recipe
Peggy says
Can you make this with Splenda?
Kim Seghers says
I’m sorry Peggy, I have never made the jelly with Spleda, so I don’t know if you can or not.
Jeffrey says
Hi made today with fresh satsumas from my tree! Made 8 , 8 oz jars of plain satsuma and 4, 8 oz jars with small diced jalapeño peppers and small diced sweet red peppers in the same jars . Christmas colors ! They have been cooling for 2 hours, not setting yet . Will they set after 24 hours ?
Thanks
Jeffrey
Kim Seghers says
Hi Jeffery, did you follow my directions? Did you use :
4 cups Satsuma Juice, freshly squeezed
1/4 cup lemon juice, fresh or bottle
5 cups granulated sugar
1 box Sure-Jell (1.75 oz.) ? Not liquid but box Sure-Jell? 1. It may not have enough Sure-Jell or 2. may not be all the way cool yet.
Susie Clement says
Thank you for this FANTASTIC recipe!!! Talk about easy and delicious!!
I tell my friends this jelly is sunshine in jar.
This time, I added habanero peppers that I grew in my yard to add little KICK.
AGAIN, THANK YOU !!!
Kim Seghers says
Hi Susie, I ‘m so happy that you find the recipe fantastic. I chuckled when I read you call the jelly sunshine in a jar! I’ll have to try the recipe with habanero peppers next time. I bet it does give the jelly a kick!!!
Kelly Teel says
Thank you so much for posting this wonderful recipe! I have a satsuma tree and had never heard of making jelly with the juice! I have never even seen it for sale or known anyone who made it. I have made 4 batches of this already! I made the first one exactly like the recipe and it was wonderful. However, I usually use the low or no sugar Sure Jell and thought to try the next batch with less sugar. I followed the recommendations (guesstimating with other type of fruit) in the Sure Jell box and used 3 cups of sugar to 4 cups of juice – it took a REALLY long time to set. Then I made the next two batches using 4 cups juice and 4 cups sugar and it is PERFECT! This jelly is a beautiful color and oh, so good! THANK YOU AGAIN for posting this amazing recipe! I found GOLD here!
Kim Seghers says
Thank you so much Kelly for leaving such a wonderful comment. It made my day!!! I’m so happy you like the recipe. Have a great week, Kim
Carolyn says
Thank you for this wonderful recipe! My job as a little girl was to juice the Satsumas for the jelly. Making your recipes brought back lots of fond memories My jelly was perfect and will make a wonderful gift for my family. Many thanks!
Kim Seghers says
Hi Carolyn, I’m so happy you liked the recipe, and it brought back fond memories for you. -Kim
Gary says
Do you leave thin pepper slices in after boiling or remove,would chopping real fine work?
Kim Seghers says
Hi Gary, If you’re wanting to make Satsuma pepper jelly use 1-2 sliced thin jalapeno peppers or 1sliced thin jalapeno pepper and 1 thin sliced cayenne pepper, add in with the satsuma juice and other ingredients. I would not chopped the peppers but slice thin into rings. Also, you leave the peppers in with the mixture you don’t remove them. Make sure to stir before placing the jelly into the jars to distribute the peppers evenly. Hope this answer your question.
Sharee says
My husband and i just made this jelly. We didnt read the directions to good put the sugar in before the sure jell and i put a half of cup of lemon by accident, but it still turned out good. Thank you for the recipe recipe. As you can tell we are new to this, but really enjoy it.
Kim Seghers says
Hi Sharee, I had a really good laugh!!I do stuff like that all the time when I use a recipe. I’m always skipping parts or adding too much of an ingredient. I’m glad the jelly turned out well, and you enjoyed it. Kim
Julianne Mason says
I made 16 jars of this jelly and we love it! I have some more satsumas and was wondering how to go about adding jalapeños to the recipe.
Kim Seghers says
Hi Julianne! I’m so happy to hear you love this recipe. You could thinly slice 1-2 jalapeno peppers and add them to the saucepan. Please see step 2 on the recipe card for full directions. I think you could do it like this ->
In a large saucepan, add satsuma juice, lemon juice, then add in thinly sliced jalapenos, and Sure-Jell. Hope this helps! Kim
Jade says
Second time using this recipe and love it!
Kim Seghers says
Hello! I’m so happy to hear you love the recipe, Jade!
Linda Laine says
Do you know how to adjust this recipe using liquid Sure-Jell?
I made a batch using the powdered Sure-Jell and it was fine. However, I used liquid Sure-Jell for the second batch following Sure-Jell directions but it did not gel. Someone suggested that liquid pectin requires more sugar. I called the Sure-Jell help line but they were unable to tell me how to convert the recipe from using powdered pectin to liquid pectin.
Thank you for any help you can give me.
Kim Seghers says
Hi Linda, I’m so sorry I have no idea either. We have always used the powdered Sure-Jell. I have never used the liquid.
Pat says
I made this jelly and it was so easy! And yummy! Thanks!
Kim Seghers says
Hi Pat, I’m so glad you like the recipe. Our family always requests jars of this jelly for Christmas. Have a wonderful Christmas! Kim
B says
Looks delicious I have some Satsumas too.I’ll have to try this. Thanks
Kim Seghers says
Thank so much B. The Satsuma Jelly is so easy to make. You definitely should try making some. Have a lovely Sunday, KIm